The Hamilton Type Museum
As promised last week I thought it was time I did a post getting down to the nitty grtty stuff that Hamilton has been involved in during it’s functioning years. When Hamilton first went into the production of wood type he used a method that involved cutting the outline of a letter out of a very thin veneer of wood, this was then mounted on a block of wood to bring it up to type height. This method was soon replaced by the industry standard of routing a design directly into a block due to the time and inaccuracies involved in veneer cutting. However the preparation of the wood for routing was a long process.
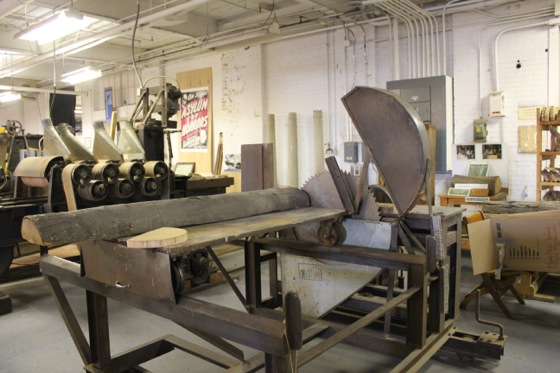
Preparing the endwood
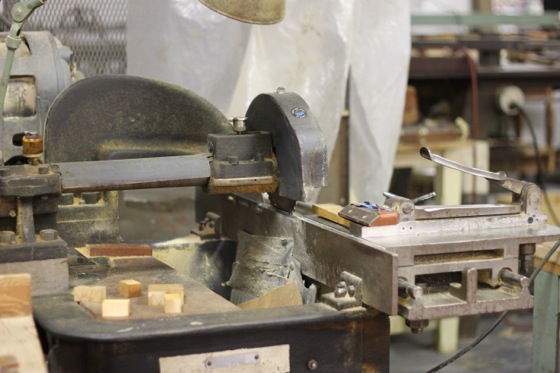
Maple logs are first split in two and then fed by a team of three people into the carriage saw (shown to the right). This saw cuts the wood into 1 1/4inch slabs know as “endwood”. Once cut they were left to dryout in a drying shed.
When dry the endwood is debarked and taken to the next station where a planer removes the rough surface of the saw blade before the endwood is fed into the sanding machine. This huge industrial sander is fitted with 2 grades of sandpaper, one rough and one fine, that progressively sand the surface down to a smooth finish.
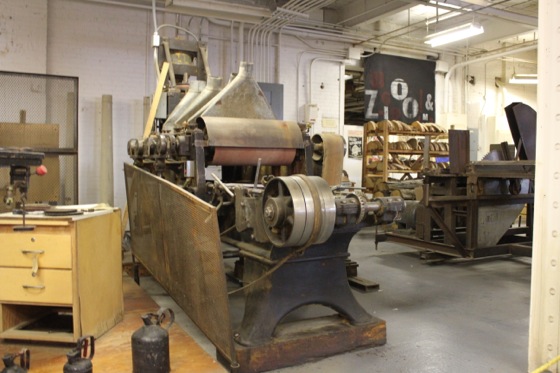
When dry the endwood is debarked and taken to the next station where a planer removes the rough surface of the saw blade before the endwood is fed into the sanding machine. This huge industrial sander is fitted with 2 grades of sandpaper, one rough and one fine, that progressively sand the surface down to a smooth finish.
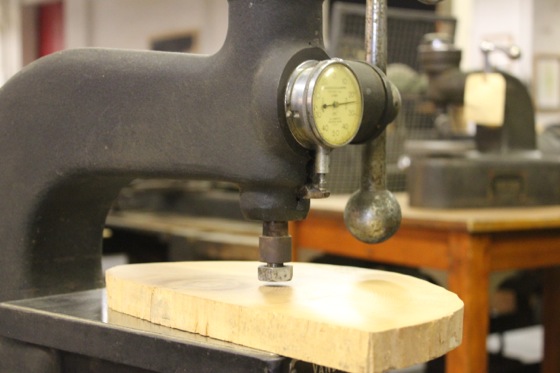
The next stage is the height machine, this sands the remaining rough surface of the endwood down to “type height”, 0.918 of an inch. It is important that all type conforms to the same exact height, using a gauge the sanded endwood is checked for and anomalies. Any areas that are out of specification will be marked, once the endwood is cut down to type size these areas will be discarded.
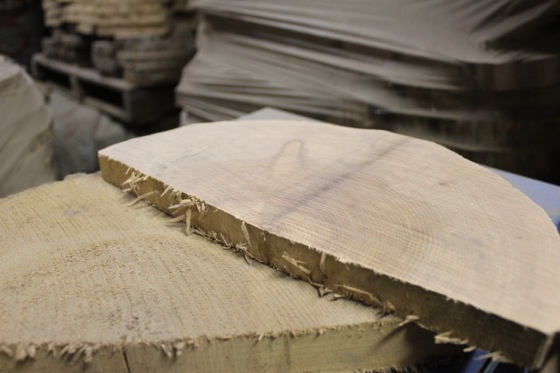
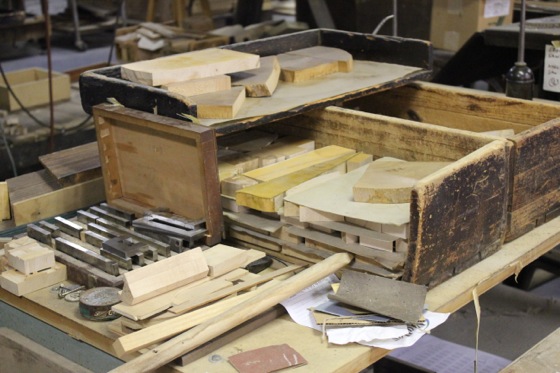
The sanded endwood is treated with a shellac/varnish to seal the printing surface (to stop the ink permeating into the type). These two pieces of endwood show the difference between the rough unfinished cut of the carriage saw and the final smooth varnished surface.
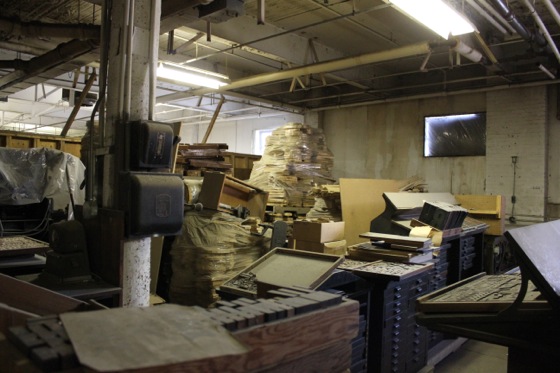
The finished endwoods are stored indefinitely, the museum has a large collection of leftover prepared endwoods from when the factory was functioning. It’s now too expensive and difficult to source materials to cut fresh logs.
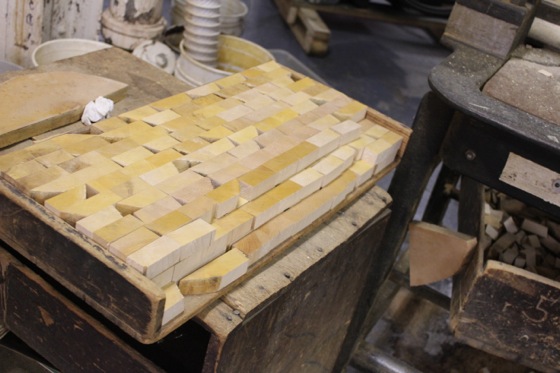
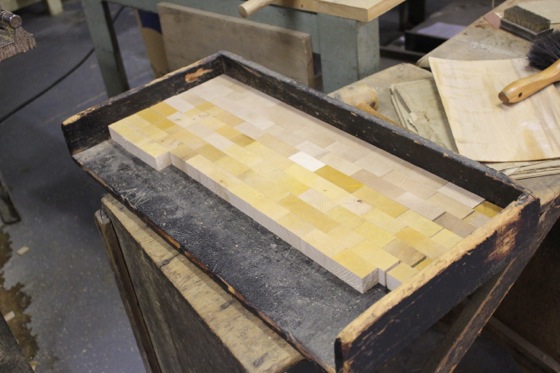
The endwoods are cut down to a variety strips that relate to line sizes (the actual height of the letter once printed).
The Pantograph
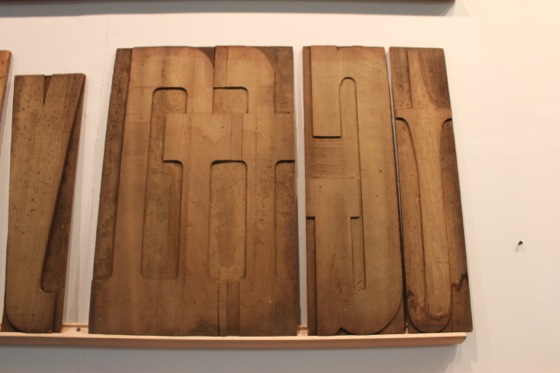
The shape of the letters are cut using a panograph, but in order for that to work a pattern must be cut for each letter. These are hand cut positive versions of the letters, either cut out of a thin sheet of wood on a jigsaw and then mounted on a block or hand carved into a block. These large letterforms (about 2feet tall) show the makers cuts and carvings. The way to distinguish these patterns from the actual type is that the design is the right way up (the pantograph process flips the design), they are below type height (they are not actually used for printing, they are used to make the type) and they also have a rough surface (again due to them not being used to print with).
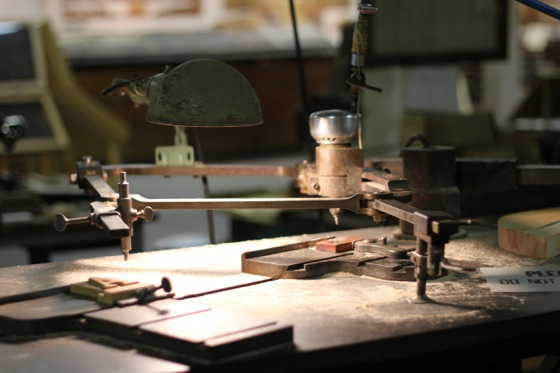
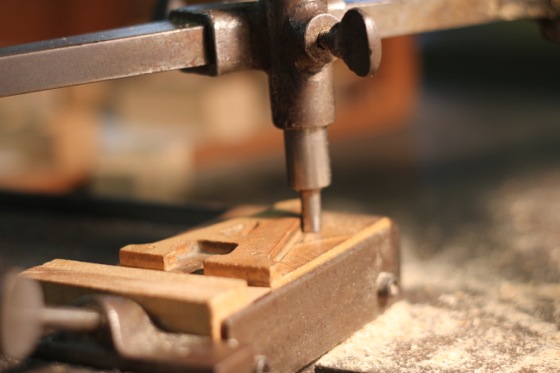
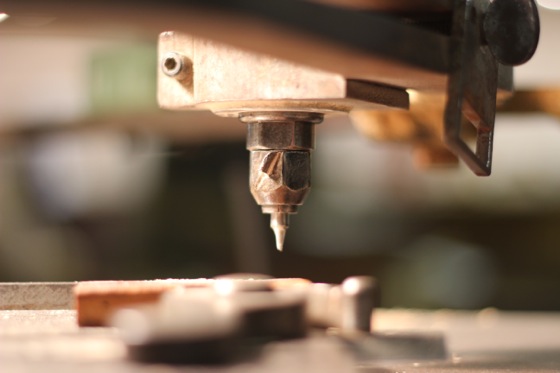
The pantograph is an armature for making a scale copy of a design (this wikipedia article on them does a good job of explaining how they work). Essentially an armature of linked rods, at one end is a point for tracing over the type and at the other end is a spinning router head. The pattern is put into a support, the pantograph is traced round the pattern and this movement is replicated at the other end where the router cuts into the prepared wood.
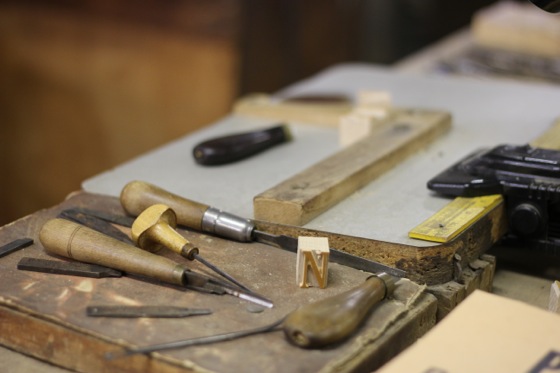
Finishing
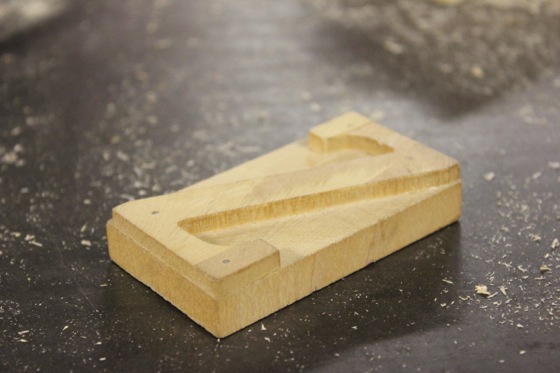
Think we’re finished? Not just yet, you see the router head is a standard size and due to it’s shape it creates rounded interior corners on the type. Imagine trying to cut out the outline of a square using a drill. With the drill bit being circular the corners will never be right-angles. So the final stage is the finishing table, here each letter is hand finished by a skilled crafts person (letterpress printing was an equal opportunities trade and men and women worked the pantographs and finishing areas). Here any details the pantograph could cut out are hand cut using chisels and mallets.
So there we go, my what a simple process! It for the reasons above that letterpress printers recoil in horror at the thought of people destroying or breaking type. Something so seemingly “simple” as one block of inch high type has gone through an extraordinary process to be sitting in front of you.